Cooking a Costco prime rib is a balance of simplicity and sophistication, requiring attention to dry-aging, seasoning, and precise temperature control for a juicy, flavorful result.
1.1 Overview of Costco Prime Rib Options
Costco offers a variety of prime rib options, including bone-in, boneless, and pre-seasoned cuts, catering to different preferences and preparation needs. Bone-in ribs provide richer flavor, while boneless options offer easier carving. Pre-seasoned varieties simplify preparation, ideal for those seeking convenience. All cuts are typically USDA Choice, ensuring quality and tenderness. The prime ribs are known for their marbling, which enhances juiciness and flavor when cooked properly. These options make Costco a go-to destination for a delicious, stress-free prime rib experience perfect for any occasion.
1.2 Importance of Proper Cooking Techniques
Proper cooking techniques are essential for achieving a tender, juicy, and flavorful prime rib. Incorrect methods can lead to overcooking, toughness, or uneven doneness. Techniques like dry-aging, seasoning, and precise temperature control are critical. Using a thermometer ensures the meat reaches safe internal temperatures (125-155°F) for desired doneness. Resting the roast after cooking allows juices to redistribute, enhancing juiciness. These steps guarantee a restaurant-quality result, making the effort worthwhile for a memorable dining experience.
Selecting the Right Prime Rib from Costco
Costco offers bone-in, boneless, and pre-seasoned prime ribs. Choose based on your preference for ease of cooking or flavor. Opt for USDA Choice with good marbling for tenderness and richness.
2.1 Types of Prime Rib Available at Costco
Costco offers bone-in, boneless, and pre-seasoned prime ribs. Bone-in ribs provide richer flavor and texture, while boneless options are more convenient for slicing. Pre-seasoned varieties simplify preparation, arriving ready to cook. For quality, opt for USDA Choice cuts with ample marbling, ensuring tenderness and rich flavor. These options cater to various preferences, whether you prioritize ease, flavor, or texture, making Costco a versatile choice for prime rib enthusiasts.

2.2 Choosing the Best Cut for Your Needs
When selecting a prime rib from Costco, consider size, marbling, and bone preference. Choose bone-in for enhanced flavor and texture or boneless for easier slicing. Opt for USDA Choice cuts with ample marbling to ensure tenderness and rich flavor. Pre-seasoned options offer convenience, while raw cuts allow for custom seasoning. For smaller gatherings, a 3-4 rib roast is ideal, while larger events may require a 6-7 rib cut. Tailor your choice to your cooking style and guest preferences for the best results.
Preparing the Prime Rib for Cooking
Preparing involves thawing, optional dry-aging for enhanced flavor, and seasoning with a dry rub. Pat dry before applying salt, pepper, and herbs for optimal results.
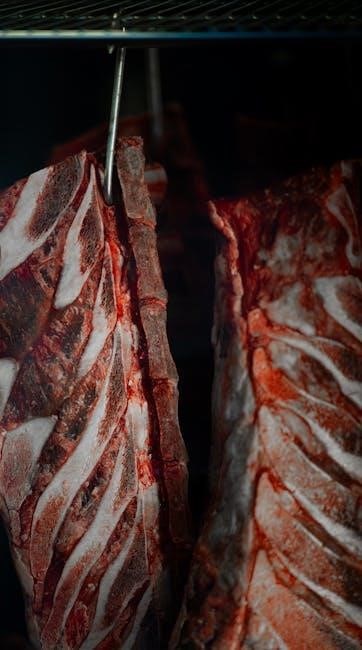
3.1 Thawing and Dry-Aging Tips
Thawing your Costco prime rib in the refrigerator for 2-3 days ensures even cooking. For dry-aging, place the roast on a wire rack, flipping every 12 hours. This enhances tenderness and flavor. Pat dry before seasoning to promote even searing. Proper thawing and dry-aging techniques are key to achieving a juicy, flavorful prime rib. Always keep the meat cold during the process to maintain safety and quality. These steps set the foundation for a perfectly cooked roast.
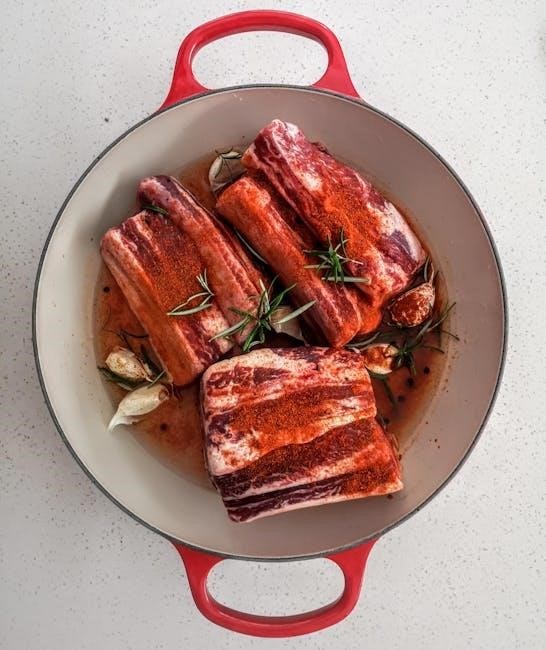
3.2 Seasoning and Rubs for Optimal Flavor
Seasoning is a cornerstone of prime rib preparation. Apply a dry rub of salt, pepper, garlic powder, and paprika 24 hours before cooking for deeper flavor penetration. For enhanced richness, mix in herbs like thyme or rosemary. Avoid over-seasoning, as the natural beef flavor should shine. Pat the roast dry before applying the rub to ensure even adhesion. Use a light hand with oil to prevent overpowering the dish. Proper seasoning elevates the prime rib’s natural tenderness and ensures a memorable dining experience;

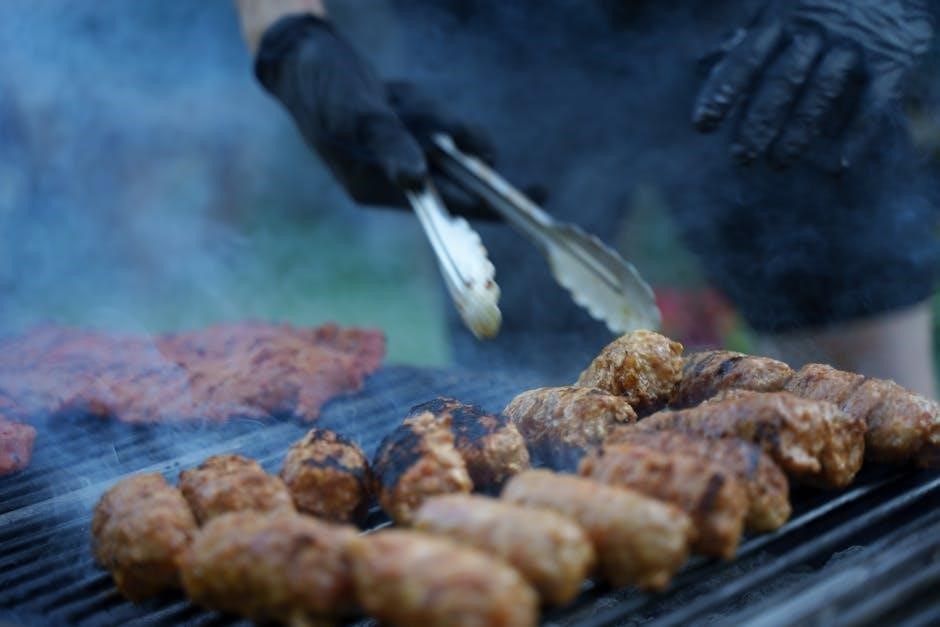
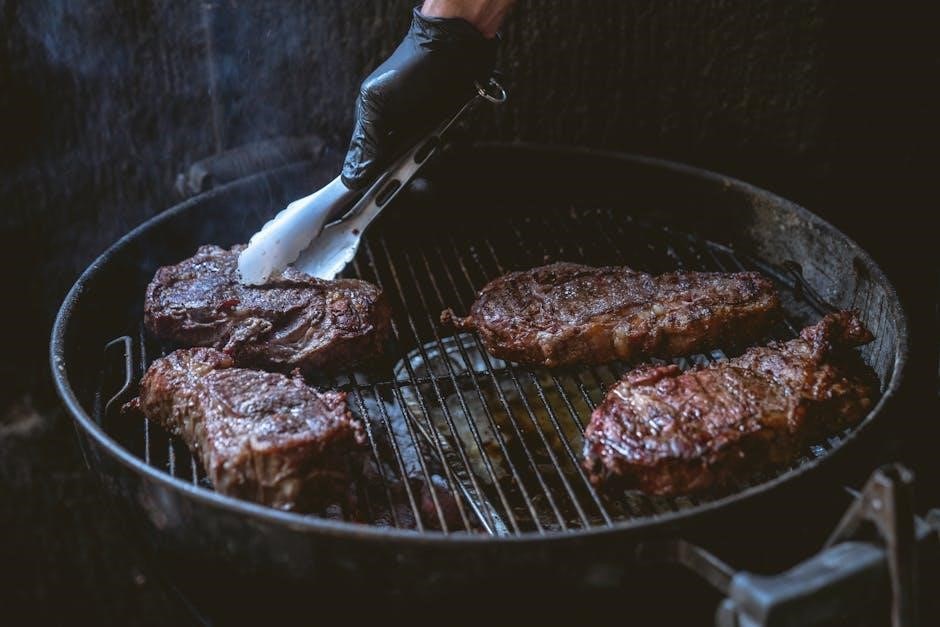
Cooking Methods for Costco Prime Rib
Cooking Costco prime rib involves methods like oven roasting or grilling, with techniques ranging from low-and-slow to high-heat searing. Using a thermometer ensures perfect doneness every time.
4.1 Oven Roasting: Low-and-Slow vs. High-Heat
Oven roasting offers two popular approaches: low-and-slow and high-heat. The low-and-slow method involves roasting at 200°F (90°C) for 4-5 hours, ensuring even cooking and tender meat. High-heat searing starts at 450°F (230°C) for 15 minutes to achieve a crispy crust, then reduces to 350°F (175°C) to finish. Both methods require precise temperature control, with a thermometer essential for reaching the ideal internal temperature of 125°F (52°C) for medium-rare. This balance of techniques ensures a perfectly cooked prime rib with a flavorful crust and juicy interior.
4.2 Using a Thermometer for Perfect Doneness
A thermometer is crucial for achieving perfect doneness in prime rib. Insert the probe into the thickest part, avoiding fat and bone. For rare, aim for 120-125°F (49-52°C), medium-rare at 130°F (54°C), and medium at 135°F (57°C). Monitor carryover cooking by tracking temperature after resting. Use an oven-safe probe to maintain accuracy throughout the process. This ensures a perfectly cooked roast, preventing overcooking and guaranteeing tenderness and juiciness. Proper use of a thermometer simplifies the cooking process and delivers consistent results every time.
Resting and Slicing the Prime Rib
Resting allows juices to redistribute, ensuring tenderness. After cooking, wrap the prime rib in foil and let it rest for 10-15 minutes before slicing thinly against the grain.
Resting is essential for retaining the prime rib’s natural juices and ensuring even flavor distribution. When cooked, the meat’s fibers tighten, pushing juices outward. Allowing it to rest lets these juices redistribute, preventing the roast from drying out. Without proper resting, slicing can release these accumulated juices, leading to a less tender and flavorful result. The ideal resting time is 10-15 minutes, during which the meat should be wrapped in foil and kept warm to maintain its succulence and richness.
5.2 Proper Slicing Techniques
5.1 Why Resting is Crucial for Juiciness
Resting allows the prime rib’s juices to redistribute, ensuring tenderness and flavor. After cooking, the meat’s fibers tense, pushing juices outward. Resting enables these juices to evenly disperse, preventing dryness; The recommended rest time is 10-15 minutes, wrapped in foil to retain warmth. This step is crucial for maintaining succulence, as slicing too soon releases juices, leading to a less flavorful outcome. Proper resting ensures a juicy, tender roast.
Additional Tips and Variations
Additional tips and variations can enhance your prime rib’s flavor and presentation. Consider adding au jus or gravy for extra richness, and experiment with seasoning blends for unique twists.
6.1 Enhancing Flavor with Au Jus or Gravy
Enhancing your Costco prime rib with au jus or gravy adds rich, savory flavor. For au jus, deglaze the roasting pan with red wine or broth, scraping up browned bits. Simmer until reduced for a flavorful accompaniment. Alternatively, make a gravy by whisking flour into pan drippings to create a roux, then gradually adding broth or stock. Both methods elevate the dish, offering a delicious contrast to the tender meat. These additions ensure a moist, aromatic prime rib experience that complements the natural beef flavors perfectly.
6.2 Common Mistakes to Avoid
Avoid common mistakes when cooking Costco prime rib to ensure a perfect result. Overcooking is a frequent error—use a thermometer to prevent exceeding your desired doneness. Not letting the roast rest long enough can lead to lost juices, so always wait at least 20 minutes. Inadequate seasoning is another pitfall; season generously and allow the roast to sit before cooking for better flavor. Lastly, avoid rushing the cooking process, as low-and-slow methods yield the most tender results. These simple precautions ensure a juicy, flavorful prime rib every time.
Tools and Equipment Needed
A reliable meat thermometer, large roasting pan, wire rack, and oven-safe probe are essential for perfectly cooking a Costco prime rib. These tools ensure even cooking and accurate temperature control, leading to a juicy and flavorful result every time.
7.1 Essential Kitchen Tools for Prime Rib Preparation
Preparing a Costco prime rib requires a few key tools to ensure success. A large roasting pan with a rack is essential for even cooking and air circulation. A meat thermometer is crucial for monitoring internal temperatures accurately. An oven-safe probe can help track temperatures without opening the oven. Additional tools like kitchen shears, a sharp knife, and a cutting board are handy for trimming and slicing. These tools collectively ensure a perfectly cooked, juicy prime rib with minimal effort.
7.2 Recommended Cookware for Even Cooking
The right cookware ensures even cooking and a perfect prime rib. A large roasting pan with a rack is ideal for air circulation and even heat distribution. Heavy-duty materials like stainless steel or enameled cast iron retain heat well. An oven-safe probe thermometer is essential for monitoring internal temperatures without opening the oven. For low-and-slow methods, a Dutch oven can be a great alternative. Always use cookware that allows the prime rib to sit above the base, preventing it from steaming instead of roasting. Proper cookware enhances the cooking experience and ensures a juicy, flavorful result.