
Welcome to the Canon AE-1 Program instruction manual, your guide to mastering this iconic film camera. Discover its features, shooting modes, and expert tips for optimal use.
1.1 Overview of the Canon AE-1 Program Camera

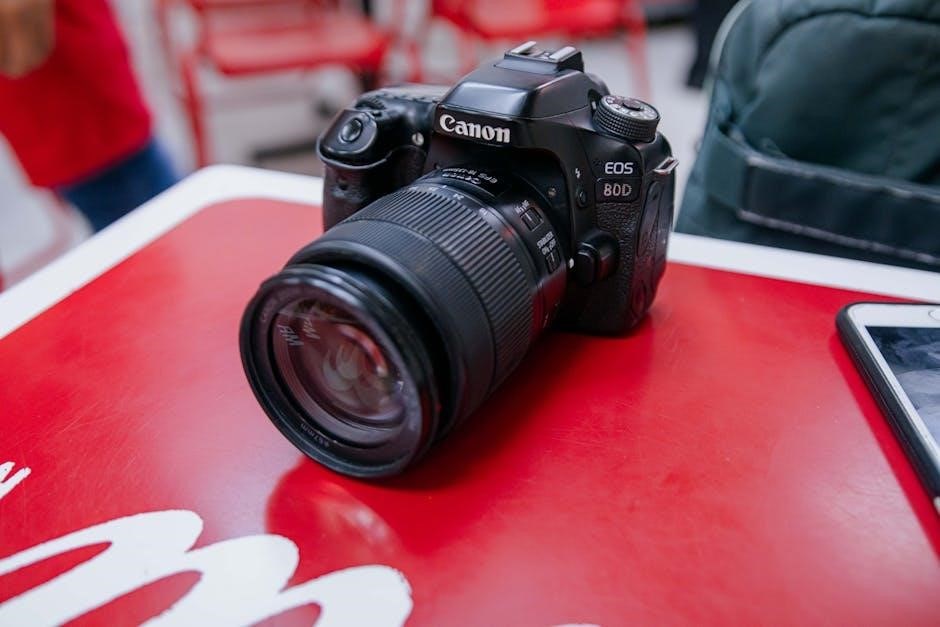
The Canon AE-1 Program is a 35mm SLR camera known for its durability and ease of use. It features interchangeable Canon FD lenses, multiple shooting modes, and a built-in flash. Designed for both professionals and hobbyists, it offers programmed AE, shutter-speed priority, and manual override options. The camera’s intuitive controls and robust build make it a timeless choice for film photography. This manual will guide you through its features and operation to help you capture stunning images with precision and creativity.
1;2 Importance of the Instruction Manual for Optimal Use
The instruction manual is essential for unlocking the full potential of the Canon AE-1 Program. It provides detailed explanations of camera features, shooting modes, and maintenance tips, ensuring you achieve optimal results. By following the manual, you’ll understand exposure modes, lens compatibility, and troubleshooting steps. This guide helps you master the camera’s capabilities, enabling you to capture high-quality images with confidence and creativity. Referencing the manual regularly will enhance your photography skills and extend the camera’s lifespan.
Unpacking and Accessories
Inside the box, you’ll find the Canon AE-1 Program camera, FD lens, front and rear lens caps, shoulder strap, and instruction manual. Essential accessories include film and a tripod for stability.
2.1 What’s Included in the Box
Your Canon AE-1 Program package includes the camera body, a Canon FD lens, front and rear lens caps, a removable shoulder strap, and a detailed instruction manual. Additionally, you’ll find a body cap to protect the camera when the lens is not attached. These accessories ensure you have everything needed to start shooting right away. The manual provides comprehensive guidance for optimal camera use and troubleshooting.
2.2 Essential Accessories for Getting Started
To enhance your photography experience, consider essential accessories like high-quality FD lenses, such as the 50mm f/1.8, for improved low-light performance. A UV filter protects your lens from scratches and glare. An external flash unit provides additional lighting control. Extra batteries ensure uninterrupted shooting, while a lens cleaning kit maintains optical clarity. A sturdy tripod is optional but useful for stability in low-light conditions. These accessories complement the camera’s capabilities, helping you achieve professional results.

Understanding the Camera Controls
Familiarize yourself with the Canon AE-1 Program’s controls, including the mode dial, shutter button, and aperture ring. These features allow precise control over exposure settings for optimal results.
3.1 External Controls and Their Functions
The Canon AE-1 Program features intuitive external controls designed for seamless operation. The mode dial allows selection between Programmed AE, Shutter-Speed Priority, and Manual modes. The shutter button activates the exposure, while the aperture ring adjusts lens opening. The ASA selector sets film sensitivity, and the LCD panel displays exposure settings. These controls enable precise adjustments, ensuring creative control and accurate exposures in various shooting conditions.

3.2 Customizing Camera Settings for Personal Preference
Customizing your Canon AE-1 Program involves exploring its versatile modes and controls. Use Programmed AE for automatic settings, ideal for quick shots. Switch to Shutter-Speed Priority to control motion effects, with the camera adjusting aperture. For full creative control, Manual mode allows you to set both aperture and shutter speed. Adjust the ASA selector to match your film speed, and use the LCD panel to monitor exposure. Tailor these settings to your photography style for optimal results.
Loading Film into the Canon AE-1 Program
Open the camera back, align the film with the spool, and advance it to the first frame. Ensure proper alignment and rewind unused film carefully.
4.1 Step-by-Step Guide to Film Loading
Open the camera back by pulling the release latch. Remove the film from its packaging and align it with the spool inside the camera. Gently pull the film across the spool, ensuring it is properly seated. Advance the film using the rapid rewind knob until it reaches the first exposure. Close the camera back firmly and wind the film to the first frame. Check the frame counter to confirm the film is loaded correctly.
4.2 Best Practices for Handling Film
Always handle film in a dark environment or use a changing bag to prevent exposure to light. Avoid touching the film surface to minimize scratches and fingerprints. Store film in a cool, dry place, away from direct sunlight. Use a lens brush to clean the camera and lens before loading film. Rewind film completely before removing it from the camera to avoid fogging. Follow these practices to ensure optimal image quality and prolong film longevity.
Exposure Modes and Shooting Options
The Canon AE-1 Program offers three exposure modes: Programmed AE, Shutter-Speed Priority AE, and Manual Override, allowing photographers to balance automation with creative control for precise results.
5.1 Programmed AE Mode for Automatic Shooting
The Programmed AE Mode offers automatic shooting convenience, balancing aperture and shutter speed for optimal exposure. Ideal for beginners and professionals alike, it ensures excellent results in various lighting conditions. The camera automatically selects the best settings, allowing for effortless photography. This mode is particularly useful for capturing everyday moments without manual adjustments, while still delivering high-quality images with minimal effort required from the user.
5.2 Shutter-Speed Priority AE Mode
In Shutter-Speed Priority AE Mode, you control the shutter speed, while the camera automatically adjusts the aperture for proper exposure. This mode is ideal for capturing motion effects, such as freezing fast-moving subjects or creating artistic blur. Simply set your desired shutter speed, and the AE-1 Program will handle the rest, ensuring sharp images and creative control over motion and focus in various lighting conditions.

5.3 Manual Override for Creative Control
Manual Override mode offers full creative control, allowing you to set both aperture and shutter speed independently. This mode is perfect for experienced photographers who want precise control over exposure. By disabling automatic settings, you can achieve specific artistic effects, such as intentional overexposure or underexposure. Use the exposure compensation dial to fine-tune your settings and explore advanced photography techniques. This mode is ideal for those who prefer hands-on control and understand the fundamentals of exposure management.
Using Flash with the Canon AE-1 Program
Enhance your photography with flash options. The Canon AE-1 Program supports built-in flash and external units, offering flexibility for various lighting conditions and creative customization.
6.1 Built-in Flash Activation and Usage
The Canon AE-1 Program features a built-in flash for convenient lighting solutions. To activate, press the flash button on the camera’s top. The flash automatically fires in low-light conditions when using Programmed AE or Shutter-Speed Priority modes. Ensure the flash is charged by checking the ready light. For manual control, adjust settings to balance flash with ambient light. Note that the built-in flash has a guide number of 12 (ASA 100), offering sufficient coverage for most situations. Always clean the flash surface for optimal performance.
6.2 Connecting and Using External Flash Units

To enhance lighting, connect an external flash unit to the Canon AE-1 Program. Use the hot shoe or PC terminal for secure attachment. Ensure compatibility with Canon Speedlite units for optimal performance. Synchronize settings by adjusting the flash’s power and the camera’s aperture. Always check the X-sync speed (1/60 second) for proper synchronization. For manual control, adjust the flash output to match your scene. Clean the contacts regularly for reliable operation and avoid using incompatible units to prevent damage. This setup ensures versatile and professional lighting results.
Maintenance and Care Tips
Ensure the Canon AE-1 Program is clean and dry. Store it in a protective case with silica gel to prevent moisture damage. Regularly inspect and clean the viewfinder and mirrors for optimal performance. Avoid extreme temperatures and harsh chemicals. Use a soft cloth to wipe down the exterior and keep the lens cap on when not in use to prevent scratches. Proper care extends the camera’s longevity and maintains its functionality.
7.1 Cleaning the Camera and Lens
Regular cleaning is essential for maintaining the Canon AE-1 Program’s performance. Use a soft, dry cloth to wipe the camera body and exterior surfaces. For the lens, gently remove dust with a microfiber cloth or a lens brush. Avoid harsh chemicals or abrasive materials. Moisture can damage internal components, so ensure the camera is dry before storing. Clean the viewfinder and mirror by gently brushing away dust with a soft-bristle brush. Proper cleaning ensures sharp images and optimal functionality.
7.2 Storing the Camera Properly
Store the Canon AE-1 Program in a cool, dry place away from direct sunlight. Use the original protective case or a padded bag to prevent scratches. Avoid humid environments, as moisture can damage internal components. Consider placing silica gel packets nearby to absorb moisture. Remove the battery when storing for extended periods to prevent corrosion. Keep the lens detached to avoid pressure marks and ensure proper airflow. For added protection, store the camera in its original packaging if available.
Troubleshooting Common Issues
Resolve common issues like shutter malfunctions, exposure errors, or lens incompatibility by referring to detailed solutions in this section for optimal camera performance.
8.1 Resolving Shutter and Exposure Problems
Address shutter and exposure issues by ensuring proper lens compatibility and checking for obstructions. Clean the camera thoroughly, verify battery power, and consult the manual for reset procedures. For exposure errors, use manual override or adjust settings as needed. Refer to page 57 for non-FD lens usage and ensure correct filter applications to avoid exposure discrepancies. Regular maintenance and proper handling can prevent these common issues, ensuring optimal performance.
8.2 Addressing Lens Compatibility Concerns
Ensure compatibility by using Canon FD lenses, as AE photography requires them. For non-FD lenses, refer to page 57 for guidance. Remove rear lens caps and body caps before use. Avoid damaged or incompatible lenses, as they may cause mechanical issues. Always mount lenses correctly to prevent damage. If using non-FD lenses, manual mode is recommended. Proper handling and storage of lenses are essential for long-term functionality and image quality. Consult the manual for detailed compatibility and usage instructions.