Experience gaming freedom with the Nintendo Switch Afterglow Wireless Controller‚ combining sleek design‚ vibrant LED lighting‚ and seamless wireless connectivity․ Designed for convenience‚ it offers customizable RGB colors‚ long battery life‚ and compatibility with the Nintendo Switch and other devices‚ enhancing your gaming experience with style and comfort․
Key Features and Design
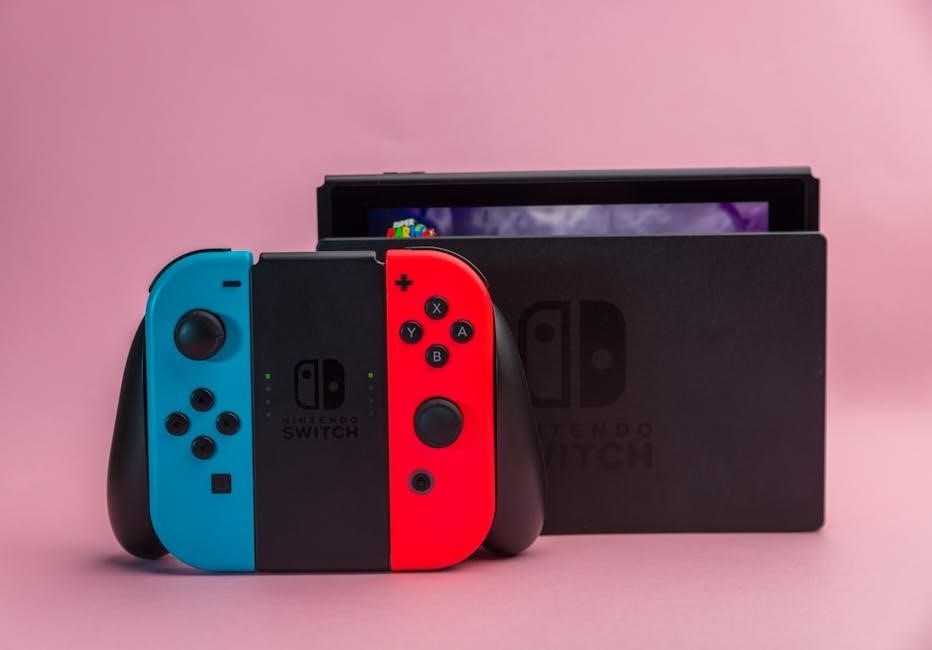
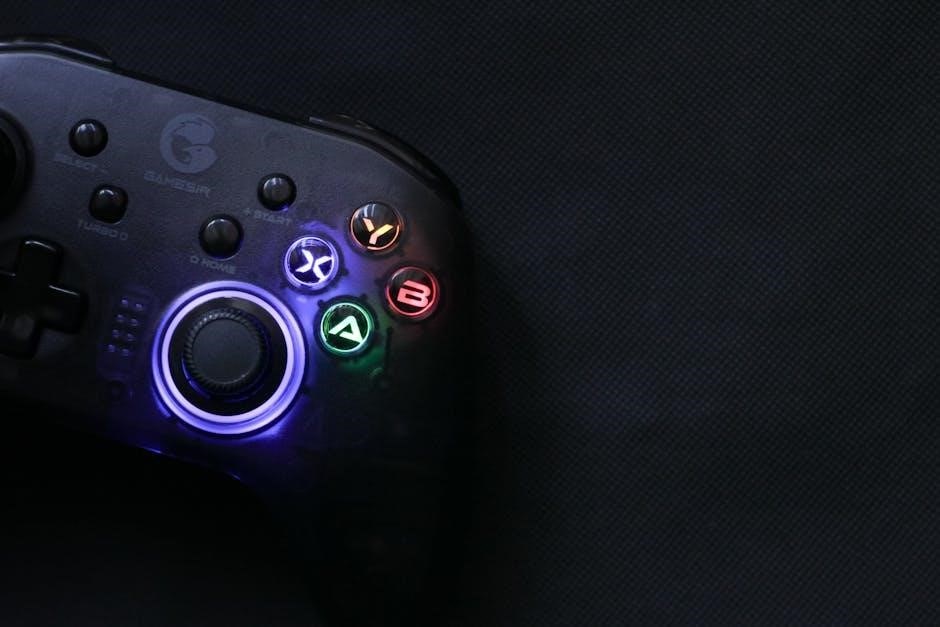
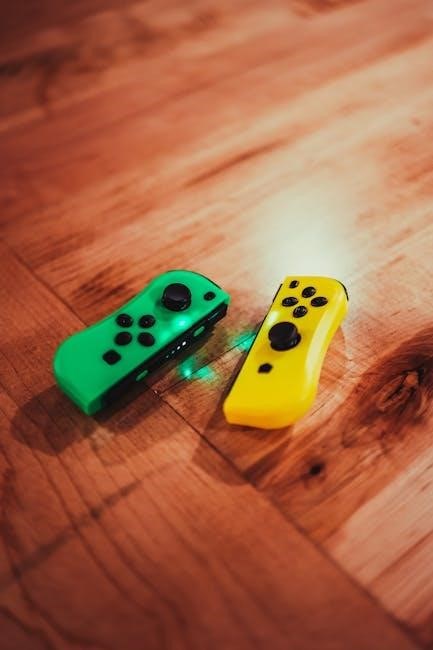
The Nintendo Switch Afterglow Wireless Controller stands out with its vibrant RGB lighting system‚ offering customizable color options to personalize your gaming setup․ Its sleek‚ ergonomic design ensures comfort during extended play sessions‚ while the wireless functionality provides a tangle-free experience․ The controller features a rechargeable battery‚ delivering hours of uninterrupted gameplay on a single charge․ Designed for compatibility with the Nintendo Switch‚ it also works seamlessly with other devices‚ making it a versatile option for gamers․ The Afterglow Wireless Controller includes advanced features like motion controls and vibration feedback‚ enhancing immersion in your favorite games․ Its durable construction and intuitive button layout ensure precise control‚ while the LED lighting adds a stylish touch to your gaming environment․ Whether you’re playing at home or on the go‚ this controller combines functionality‚ style‚ and performance to elevate your gaming experience․
Setup and Pairing Guide
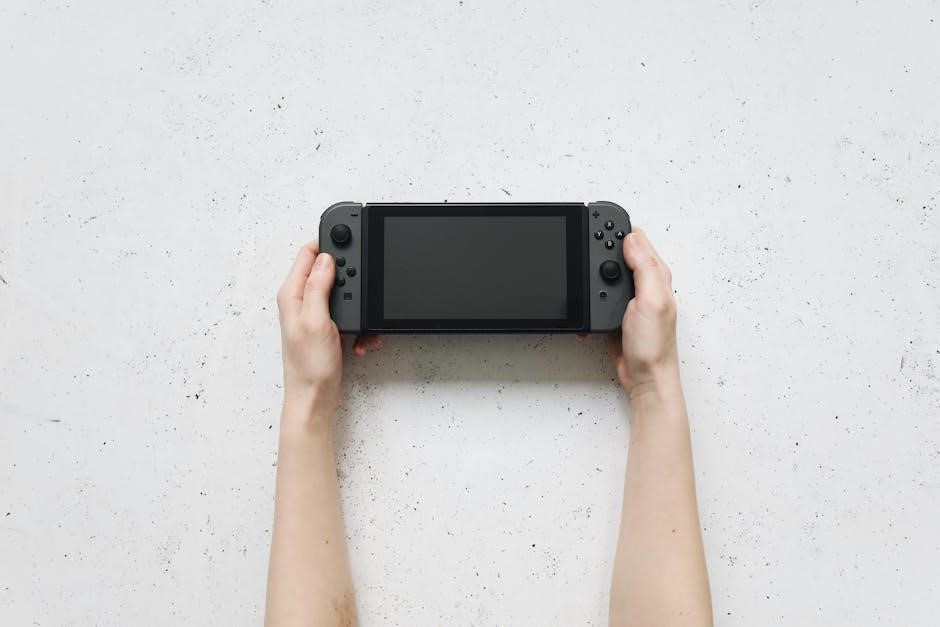
The Nintendo Switch Afterglow Wireless Controller offers an effortless setup and pairing process․ Simply plug in the USB cable to automatically pair with your Nintendo Switch‚ or use wireless pairing for convenience․
Initial Setup and Pairing Process
To begin‚ carefully unbox the Nintendo Switch Afterglow Wireless Controller and ensure it is fully charged using the provided USB cable․ Once charged‚ plug the USB cable into the Nintendo Switch dock to initiate automatic pairing․ The controller will pair seamlessly with the console‚ indicated by the LED lights turning solid․ For wireless pairing‚ press and hold the pairing button on the controller until the LED flashes‚ then navigate to the Switch’s Bluetooth settings to complete the connection․ The controller also supports wired use via USB‚ ideal for gaming while charging․ If issues arise‚ resetting the controller by pressing the pairing button for 10 seconds can resolve connectivity problems․ The Afterglow Wireless Controller is designed for intuitive setup‚ ensuring a smooth and hassle-free gaming experience from the start․
LED Lighting Customization
The Afterglow Wireless Controller features vibrant RGB LED lighting‚ allowing users to personalize their gaming experience with customizable color settings․ Adjust brightness and colors effortlessly to match your style and enhance gameplay aesthetics․
Adjusting Brightness and Color Settings
To customize the LED lighting on your Nintendo Switch Afterglow Wireless Controller‚ start by pressing and holding the Share and Minus buttons simultaneously for five seconds․ This activates the customization mode‚ indicated by flashing LED lights․ Use the directional pad to cycle through various color options․ Adjust the brightness using the Plus button to increase and the Minus button to decrease․ Be mindful of brightness levels to conserve battery life․ Exit customization mode and save your settings by pressing the Share and Minus buttons again․ This process allows you to personalize your gaming experience with preferred aesthetics while managing battery efficiency․
Troubleshooting Common Issues
If your Nintendo Switch Afterglow Wireless Controller encounters issues‚ start by resetting it․ Press and hold the Y and X buttons while turning it on to reset․ For LED lights not working‚ ensure they are enabled and brightness is set above zero․ If the controller won’t connect‚ re-pair it by plugging it into the dock and waiting for recognition․ For drifting analog sticks‚ clean the area with a cotton swab and recalibrate via the Switch’s settings․ If battery life is short‚ charge it fully and avoid overcharging․ Finally‚ restart both the controller and console to resolve connectivity problems․ If issues persist‚ contact customer support for further assistance․
Battery Life and Charging Tips
The Nintendo Switch Afterglow Wireless Controller offers an impressive battery life‚ typically lasting up to 20 hours on a single charge․ To maintain optimal performance‚ charge it using the included USB-C cable․ Avoid overcharging‚ as this can degrade the battery over time․ When not in use‚ store the controller with a partial charge to prevent deep discharging․ If you notice reduced battery life‚ reset the controller by holding the Y and X buttons while turning it on․ For the best experience‚ charge the controller when the battery level drops below 20%․ LED lights can be turned off to conserve power during extended gaming sessions․ Always use the official charging cable to ensure proper charging and prevent damage to the battery․ By following these tips‚ you can enjoy uninterrupted gaming sessions with your Afterglow Wireless Controller․

Compatibility with Nintendo Switch and Other Devices
The Nintendo Switch Afterglow Wireless Controller is designed to seamlessly integrate with the Nintendo Switch‚ offering a reliable wireless connection and intuitive gameplay․ Beyond the Switch‚ this controller is also compatible with PCs and mobile devices via Bluetooth or wired USB connections‚ making it a versatile option for cross-platform gaming․ Its Bluetooth functionality allows it to pair effortlessly with devices like smartphones and tablets‚ while the included USB cable ensures a stable connection for PC gaming․ Additionally‚ the controller supports compatibility with popular platforms like Steam‚ enhancing your gaming experience across multiple systems․ Whether you’re playing on your Switch‚ PC‚ or mobile device‚ the Afterglow Wireless Controller delivers consistent performance and responsiveness․ This versatility makes it an excellent choice for gamers who enjoy playing across different platforms․ Its wide-ranging compatibility ensures that you can enjoy your favorite games wherever and however you choose to play․
Advanced Tips for Enhanced Gaming Experience
To elevate your gaming experience with the Nintendo Switch Afterglow Wireless Controller‚ consider these advanced tips․ Customize the LED lighting to match your gaming setup or personal style‚ enhancing immersion․ Utilize button mapping to assign actions to your preferred buttons for better control․ For PC gaming‚ pair the controller via Bluetooth or USB for a seamless connection․ Experiment with the D-pad and motion controls for precise gameplay in compatible titles․ To optimize battery life‚ adjust the LED brightness or turn it off during extended sessions․ Additionally‚ take advantage of the controller’s compatibility with mobile devices for on-the-go gaming․ Regularly update the controller’s firmware to ensure the latest features and performance improvements․ Lastly‚ use the included USB cable for a wired connection when stability is critical‚ such as during competitive multiplayer sessions․ These tips will help you maximize your controller’s potential and enjoy a superior gaming experience across all platforms․